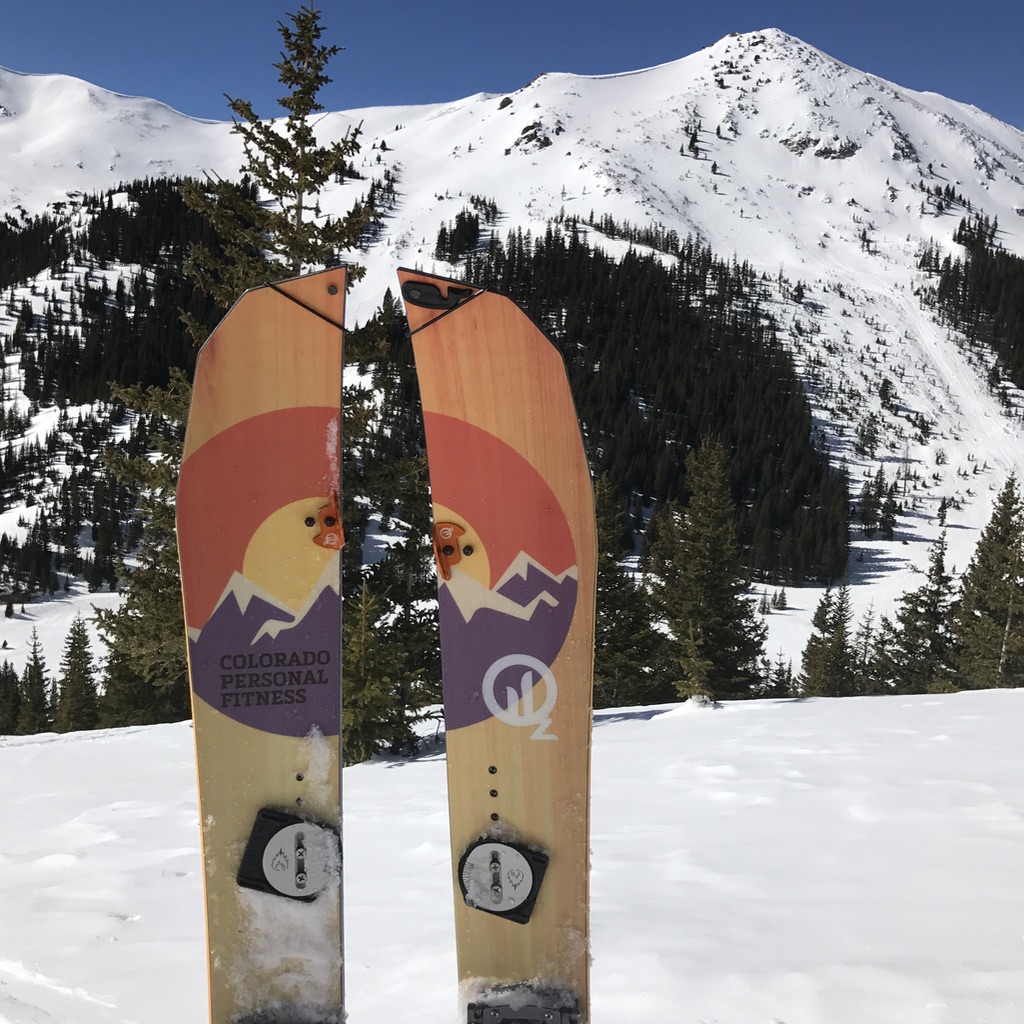
Just hanging out on a mountain with my custom OZ OZsym splitboard
What is a splitboard? Why would you want to use one? How do you go about gearing up for doing it? Is it safe? I get these questions often, so I am going to do my best to write about what splitboarding is to me, how to get started and what tools, education and gear is needed to make the most of the backcountry experience.
Just hanging out on a sunny day here in Colorado, scoping some lines to hit :) (pic credit - Aaron V. Rose)
What is a splitboard?
A splitboard is a snowboard that is converted into a backcountry tool to ascend mountains then snowboard down them. Basically, it is a snowboard cut down the middle to form two backcountry skis. Much like an alpine touring or telemark ski set up, skins then attach to the bottom of the split “skis”, this allows traction on the snow and therefore allows getting up the mountain. Also, like a backcountry ski set up, the bindings will hinge at the toes, allowing for ankle articulation. The rider skins up the mountain and then takes the skins and bindings off the skis, attaches the skis together to form a snowboard, puts the bindings on and is ready to shred. With me so far? I will go over what you need and what I use below.
eyeing an even bigger line for next time, its nice to be present in the moment and feel grounded
Why?
My passion for splitboarding goes beyond just the sport. First, my love for the outdoor Colorado lifestyle drives most of what I do. For me being outside is where I find peace, clear my head, fill my soul with joy and enjoy the beauty of the wildness. So when winter hits and I can not go hiking, I happily strap on my splitboard skis and head up the mountain. Second, it is an incredibly effective fitness tool. You can easily burn a few thousand calories, improve endurance, cross-train for other sports, and improve cognitive function. It his not a secret that exercising outside is good for the body, mind, and soul. Third, you can connect with friends, meet new backcountry enthusiasts or go solo. When touring for hours, there is a lot of time to really connect with you partners and be among others in a similar state of mind There are several groups dedicated to splitboarding. Just go on Facebook and find a group in your area, you will find plenty of people that will want to share the trail with you. Finally, getting to shred in powder! If things go well, there can often be unlimited pow runs (until the legs give out!) No waiting on chairlifts, no ducking ropes - it's just an open canvas of nature waiting to be explored. If you have grown bored with the ski area and have a sense or adventure, then splitboarding is for you.
shredding some pow in April at my favorite spot - Jones Pass (pic credit Dave Marcus)
Before heading up into the backcountry, many things must be addressed. Proper education, gear, patience and humility of utmost importance.
going over our objectives in Rocky Mountain National Park
Education
There are several books on avalanche education (Staying Alive in Avalanche Terrain is a good one) that are very insightful, but nothing will be as helpful as taking at least an AIARE 1 course. These courses are offered at many locations and can be obtained over a long weekend. The AIARE 1 course is an introduction to what avalanches are, how they can trigger, how to observe terrain, trip planning and how to use your beacon, probe, and shovel in rescue situations. Very useful stuff! I think it is essential to get at least this level of education. The first time I took the course I was scared that everything in the backcountry was going to kill me. It kept me very humble and made me rethink what I knew about snow. The Level 2 course is much more involved and covers things like SWAG (Snow, Weather, and Avalanche observations Guidelines), more advanced snow science, weather, forecasting and multiple burial rescue practice. I took it last year with a group of badasses, one of whom trapped bears in Canada. One of the days we witnessed an R2 D2.5 avalanche just up a bit from us. No one was injured and it was a perfect opportunity to put the newly learned SWAG to use by reporting the avalanche to CAIC. There is a lot of information covered in both levels and I am still re-reading the materials and practicing procedures. Level 3 would be for professional guides and advanced backcountry users.
our lead instructor - Nate Goodman - in a snow pit during AIARE 2 course
R2 D2.5 avalanche during out AIARE 2 course, talk about amazing timing!
Gear
Avalanche Safety - Every backcountry skier or splitboarder needs to have an avalanche beacon, probe, and shovel and know how to proficiently use them! I really like the Mammut Barryvox Pulse beacon. A good ski or snowboard specific backpack is key to hauling the kit. I prefer bigger packs around 40 liters or so. This should be enough space for the shovel, probe, first aid kit, survival kit, repair kit (everything breaks) food, water, puffy, beanie, extra gloves, goggles, and helmet. There are several avalanche safety backpacks out there. Many use compressed air (ABS system). Personally, I like the Black Diamond Saga JetForce 40 because I can practice using it as much as I need to in order to feel comfortable. Just needs to be charged back up after 4 uses. We put together a video on how it works:
Collapsible trekking poles - These are ski poles with powder baskets that become smaller by either compacting into themselves in 2 or 3 sections or by folding up like an avalanche probe. Many are made of aluminum, which is strong and dependable. Some are adjustable, making them versatile for smaller or taller riders. The BCA Scepter is both aluminum and adjustable. I prefer the Black Diamond Carbon Compactor as it is lightweight, folds up nice and has lasted several seasons of use.
Pow day! Testing out the lightest splitboard in the world - Prowder Carbon Featherweight - just over 5lbs. (Pic courtesy of Zach Birmingham)
Skins - There are splitboard specific skins from many brands. I have had good luck with the G3 Alpinist and High Traction skins. They are nylon fibers so they are durable and grip well. When looking for more glide and lighter weight, the Jones Nomad are great. They are mohair and pack up smaller.
Skins clipped on, Spark R&D binding baseplates, custom OZ Carbon OZsym splitboard
Bindings - Currently there are three major brands out there right now. Spark R&D offer the Arc and Surge bindings in men's and women sizes. They are hand made in Montana. The Arc is lightweight but more playful, the Surge are stiffer. Voile has the Lightrail bindings and they also make the plastic pucks that both Spark and Voile bindings mount onto. The Karakoram has a different baseplate system and there are several models in the lineup, from the Prime 1 up to the Carbon Prime. Their bindings are handmade in Washington state. I use both the Karakoram Prime and Spark R&D Surge on my boards. Check out this comparison video to see the differences - Spark R&D vs Karakoram:
Boots - I use the ThirtyTwo Jones MTB boot for long days and situations where I might need to use crampons. I use the Burton Tourist for days when I want a comfortable boot for touring. On really mellow days the Ride Insano boot does the trick. The benefit of splitboard specific boots is that many of them have additional articulation in the ankle, allowing for a more elongated and comfortable stride. They also have a stiffer and more aggressive sole that is crampon compatible and can kick into the snow with.
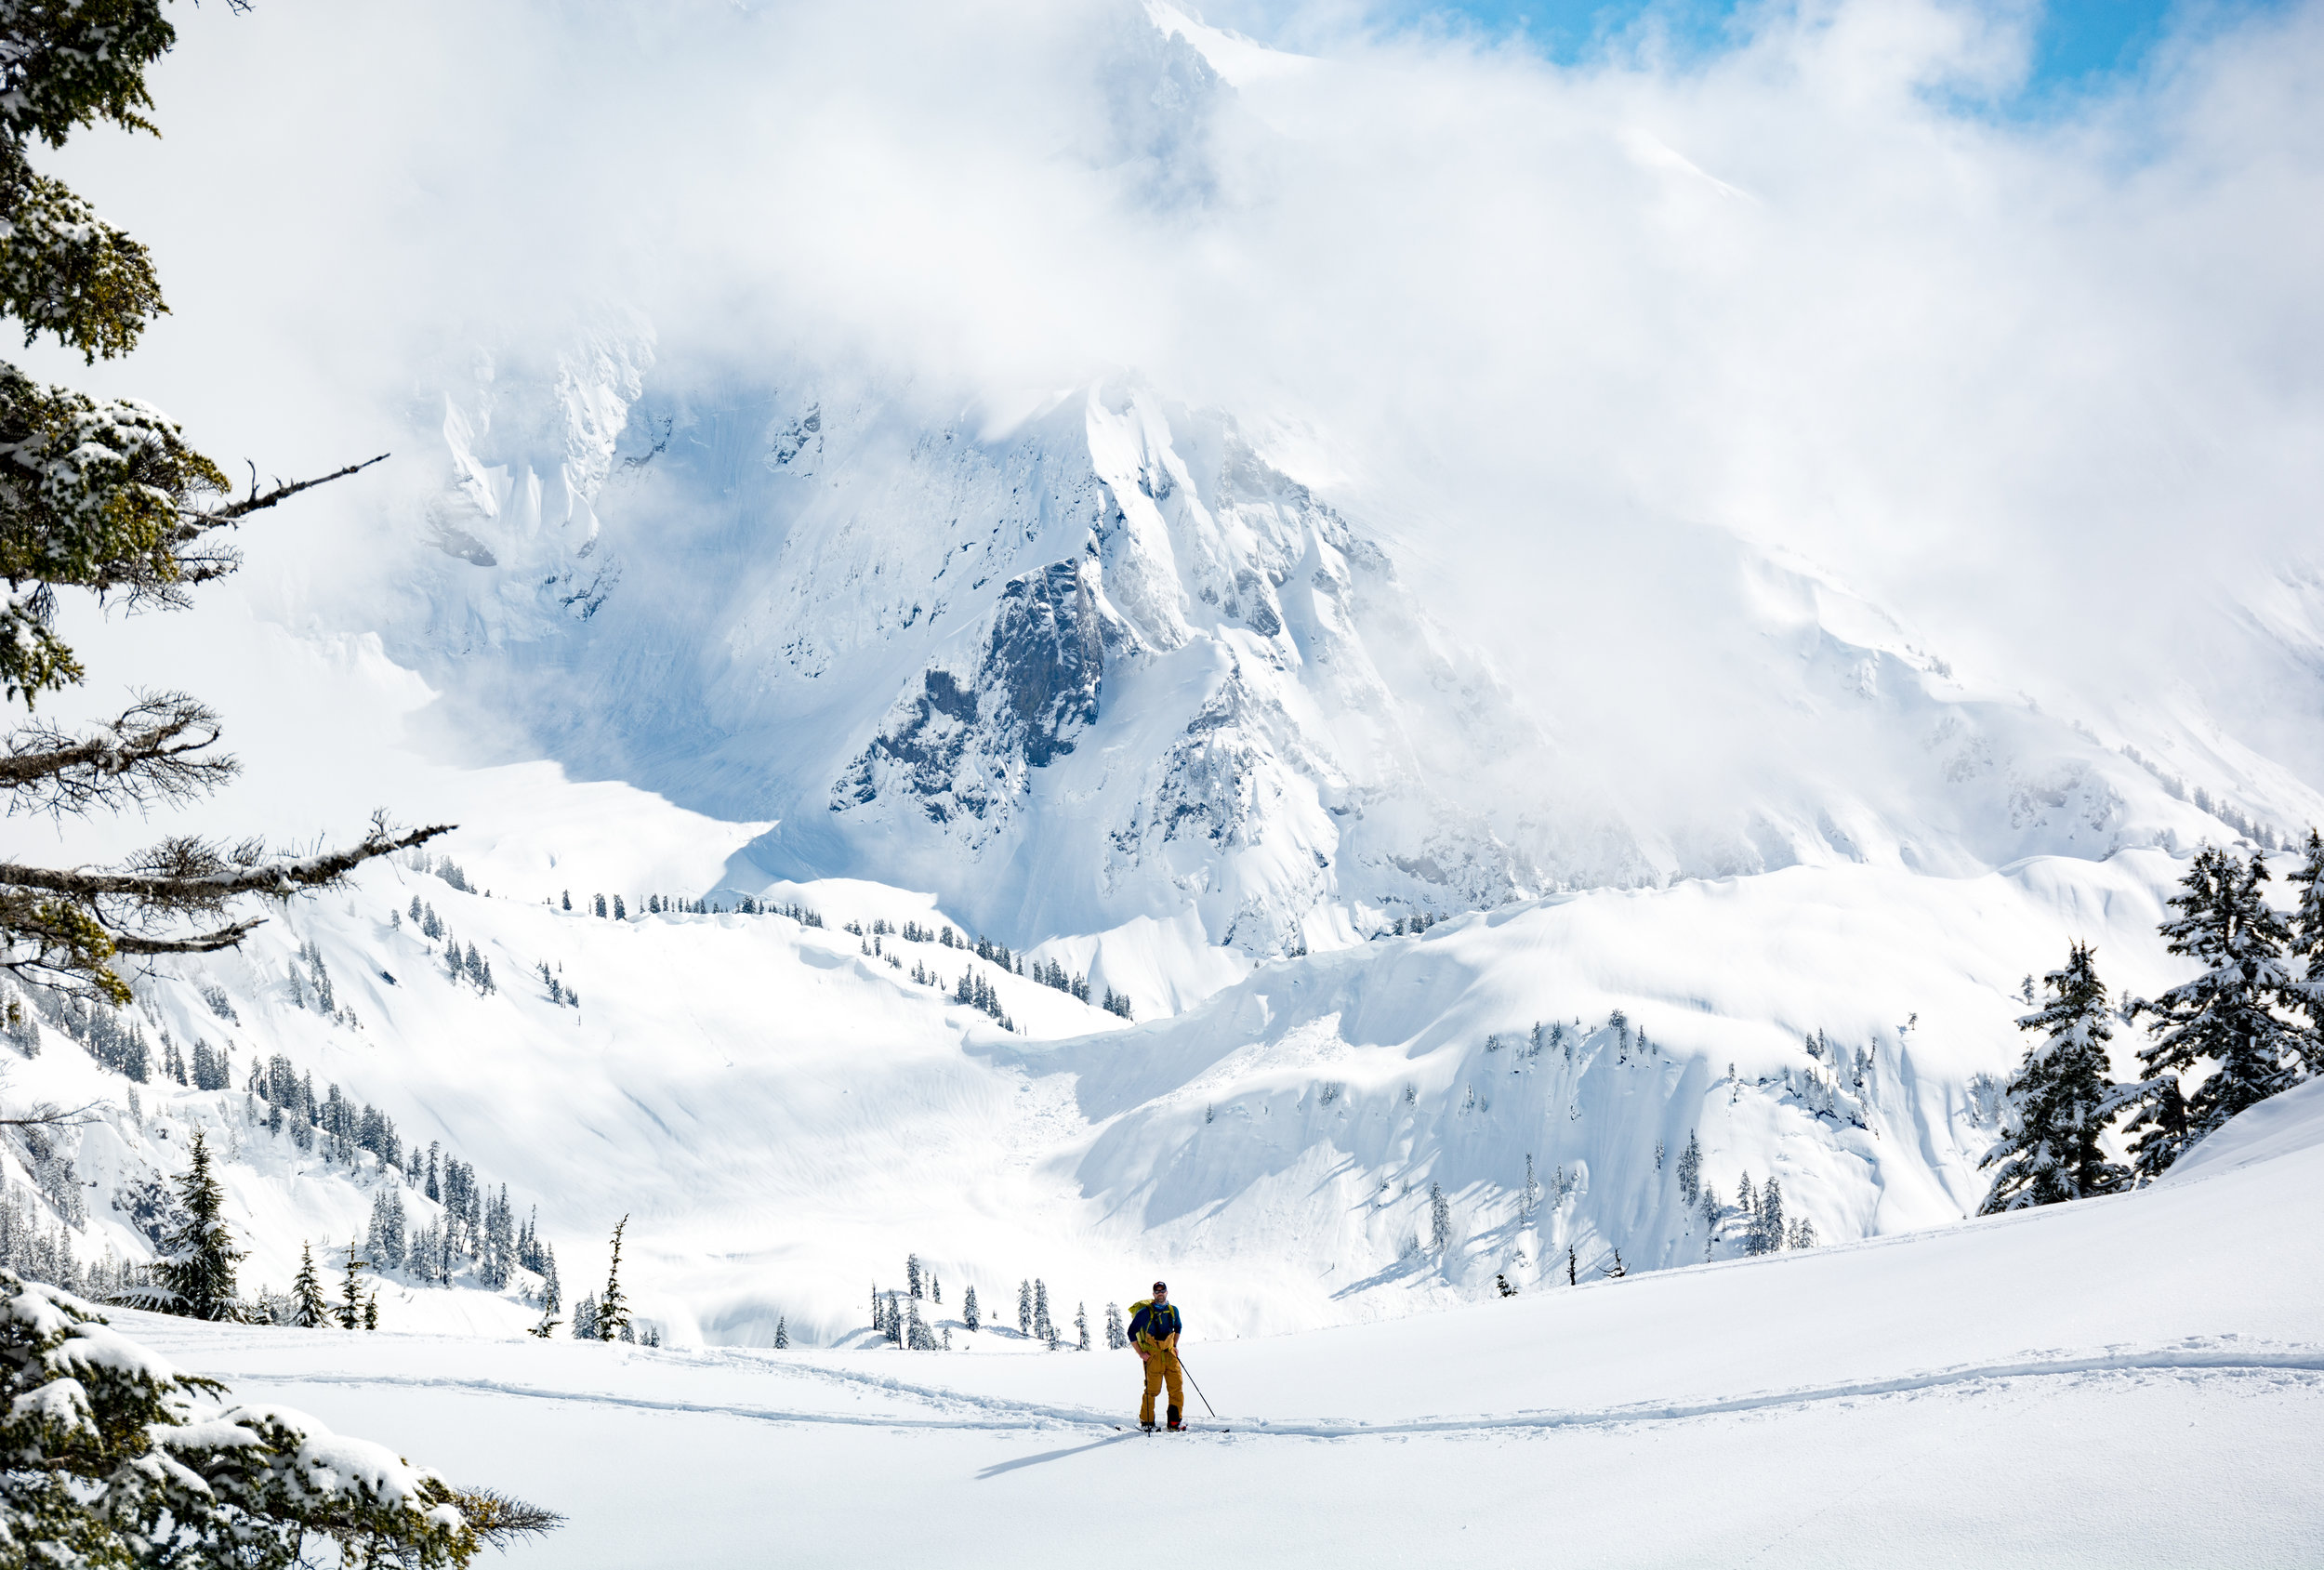
Kevin Clark of Prowder, me on next hill over, Mt. Shuksan peaking out of the clouds in the background . At Baker Splitfest 2017 (pic courtesy of Zach Birmingham)
Just enjoying the view with the crew. Can you picture yourself here? Hope so!
Splitboards
There are a lot of splitboards out there and I have been fortunate to test many of them as the splitboard reviewer at engearment.com For the money, the Arbor Coda, Voile Revelator and Prowder ATK Carbon are good choices and easy to use. For more intermediate to advanced riders, the OZ OZsym and Never Summer Prospector and Swift (out next year), and Jones Solution are all very capable. Prior and Venture hand make their boards and are usually flat base of camber. It is all personal preference on what the best board is. One way to try out different boards is to attend a Splitfest. These are events that manufactures put together at cool spots to showcase their products and offer demos. I just went to the Baker Splitfest and had a great time. Silverton has a great event too. One of the awesome things about the splitboard community is the people in it. The manufacturers are riders and down to earth. I have shared lots of skin tracks (and lots of beers) with many of them, none of them were unapproachable or arrogant. They all got into this sport for the love of backcountry snowboarding and it shows.
Splitboard in tour mode. BD Carbon Compactor Poles, Spark Surge bindings
Gearing up for a tour. I constantly go through my kit and see what I use and what I can do to reduce weight. Just like with hiking, the more weight you carry, the more work you will be doing.
Fitness
Riding at a resort is a whole lot different than earning your turns in the backcountry. It requires a lot more energy to get a run in. Most of the time is spent skinning up the mountain, often on a skin track that can be steep and on uneven ground. Touring takes a lot of strength and endurance as well. Conditioning for it can be very helpful and will allow for a better experience. Touring is often at a higher elevation, so keep that in mind. Out here in Colorado, most of our tours are 10K and higher. That can be pretty humbling! As a personal trainer and splitboarder, I have put together some training programs for backcountry skiing and splitboarding conditioning. A resilient core, leg strength and good flexibility and mobility will help avoid injury as well. Bodyweight exercises like planks, Davies, pushups, pull-ups, lunges, squats, and one leg deadlifts are helpful. Kettlebell exercises like goblet squats, kettlebell swings and Turkish get ups are golden. No need to crush it in the gym, training is practice for real-world activities, so treat it as such. Check out this video for a simple conditioning program that you can do outside, with minimal equipment:
Nutrition
The backcountry is no place for a diet! It is easy to burn a lot of calories (800+ an hour) so it is essential to keep fueled up. I keep several nutrition bars handy (FourPoints Bar is my favorite) and nuts, chocolate, sandwiches or other easy to eat foods are very helpful. Hydration is paramount too. Lots of salt is displaced on a tour and dehydration can keep up quickly. One trick I use is to look at the color of my pee. Seriously! If it is darker than normal (normal pee color is light yellow - like straw) then it is a sign of dehydration. Being dehydrated in the backcountry is not good. Sometimes I take an electrolyte replacement product if it's going to be a big day, or if I don't feel like I am fully hydrated for the tour. Some people bring hot coffee or tea, but I leave it out and use that space and weight for more water.
You burn a lot of calories exercising in the mountains, so eat up!
Touring up to a nice line at Mt Baker backcountry area during Baker Splitfest 2017
Safety
Make sure the first aid kit is stocked with nonexpired supplies. Throw in a knife, tenacious tape (or duct tape) NSAIDs, and a SAM splint. Check the local avalanche forecast daily. Colorado Avalanche Information Center - CAIC - does an incredible job of providing daily reports on the snowpack for different areas in our state. Check out http://www.avalanche.org for other states. Backcountry adventures are usually out of cell range, so I use BCA Link radios to communicate with my partners and a satellite-based communication device for emergencies. A device like the InReach or Spot can save a life. Map skills and knowing the terrain are key. I like having a plan B and C, as there are often unforeseeable issues that pop up (weather, snowpack, gear malfunction, human malfunction) As much as I like the famous line from Yvon Chouinard “When everything goes wrong, that is when adventure starts” I don't want that something to go wrong and harm someone, or myself. One thing that I run into, and this is probably common among many other sports, is knowing when to call it. When to say no to a line, when to let others know that I am not feeling the conditions or have a bad feeling about the terrain. It can be hard to do, but it is a must for safety. Communication is key and the mountains are not going anywhere.
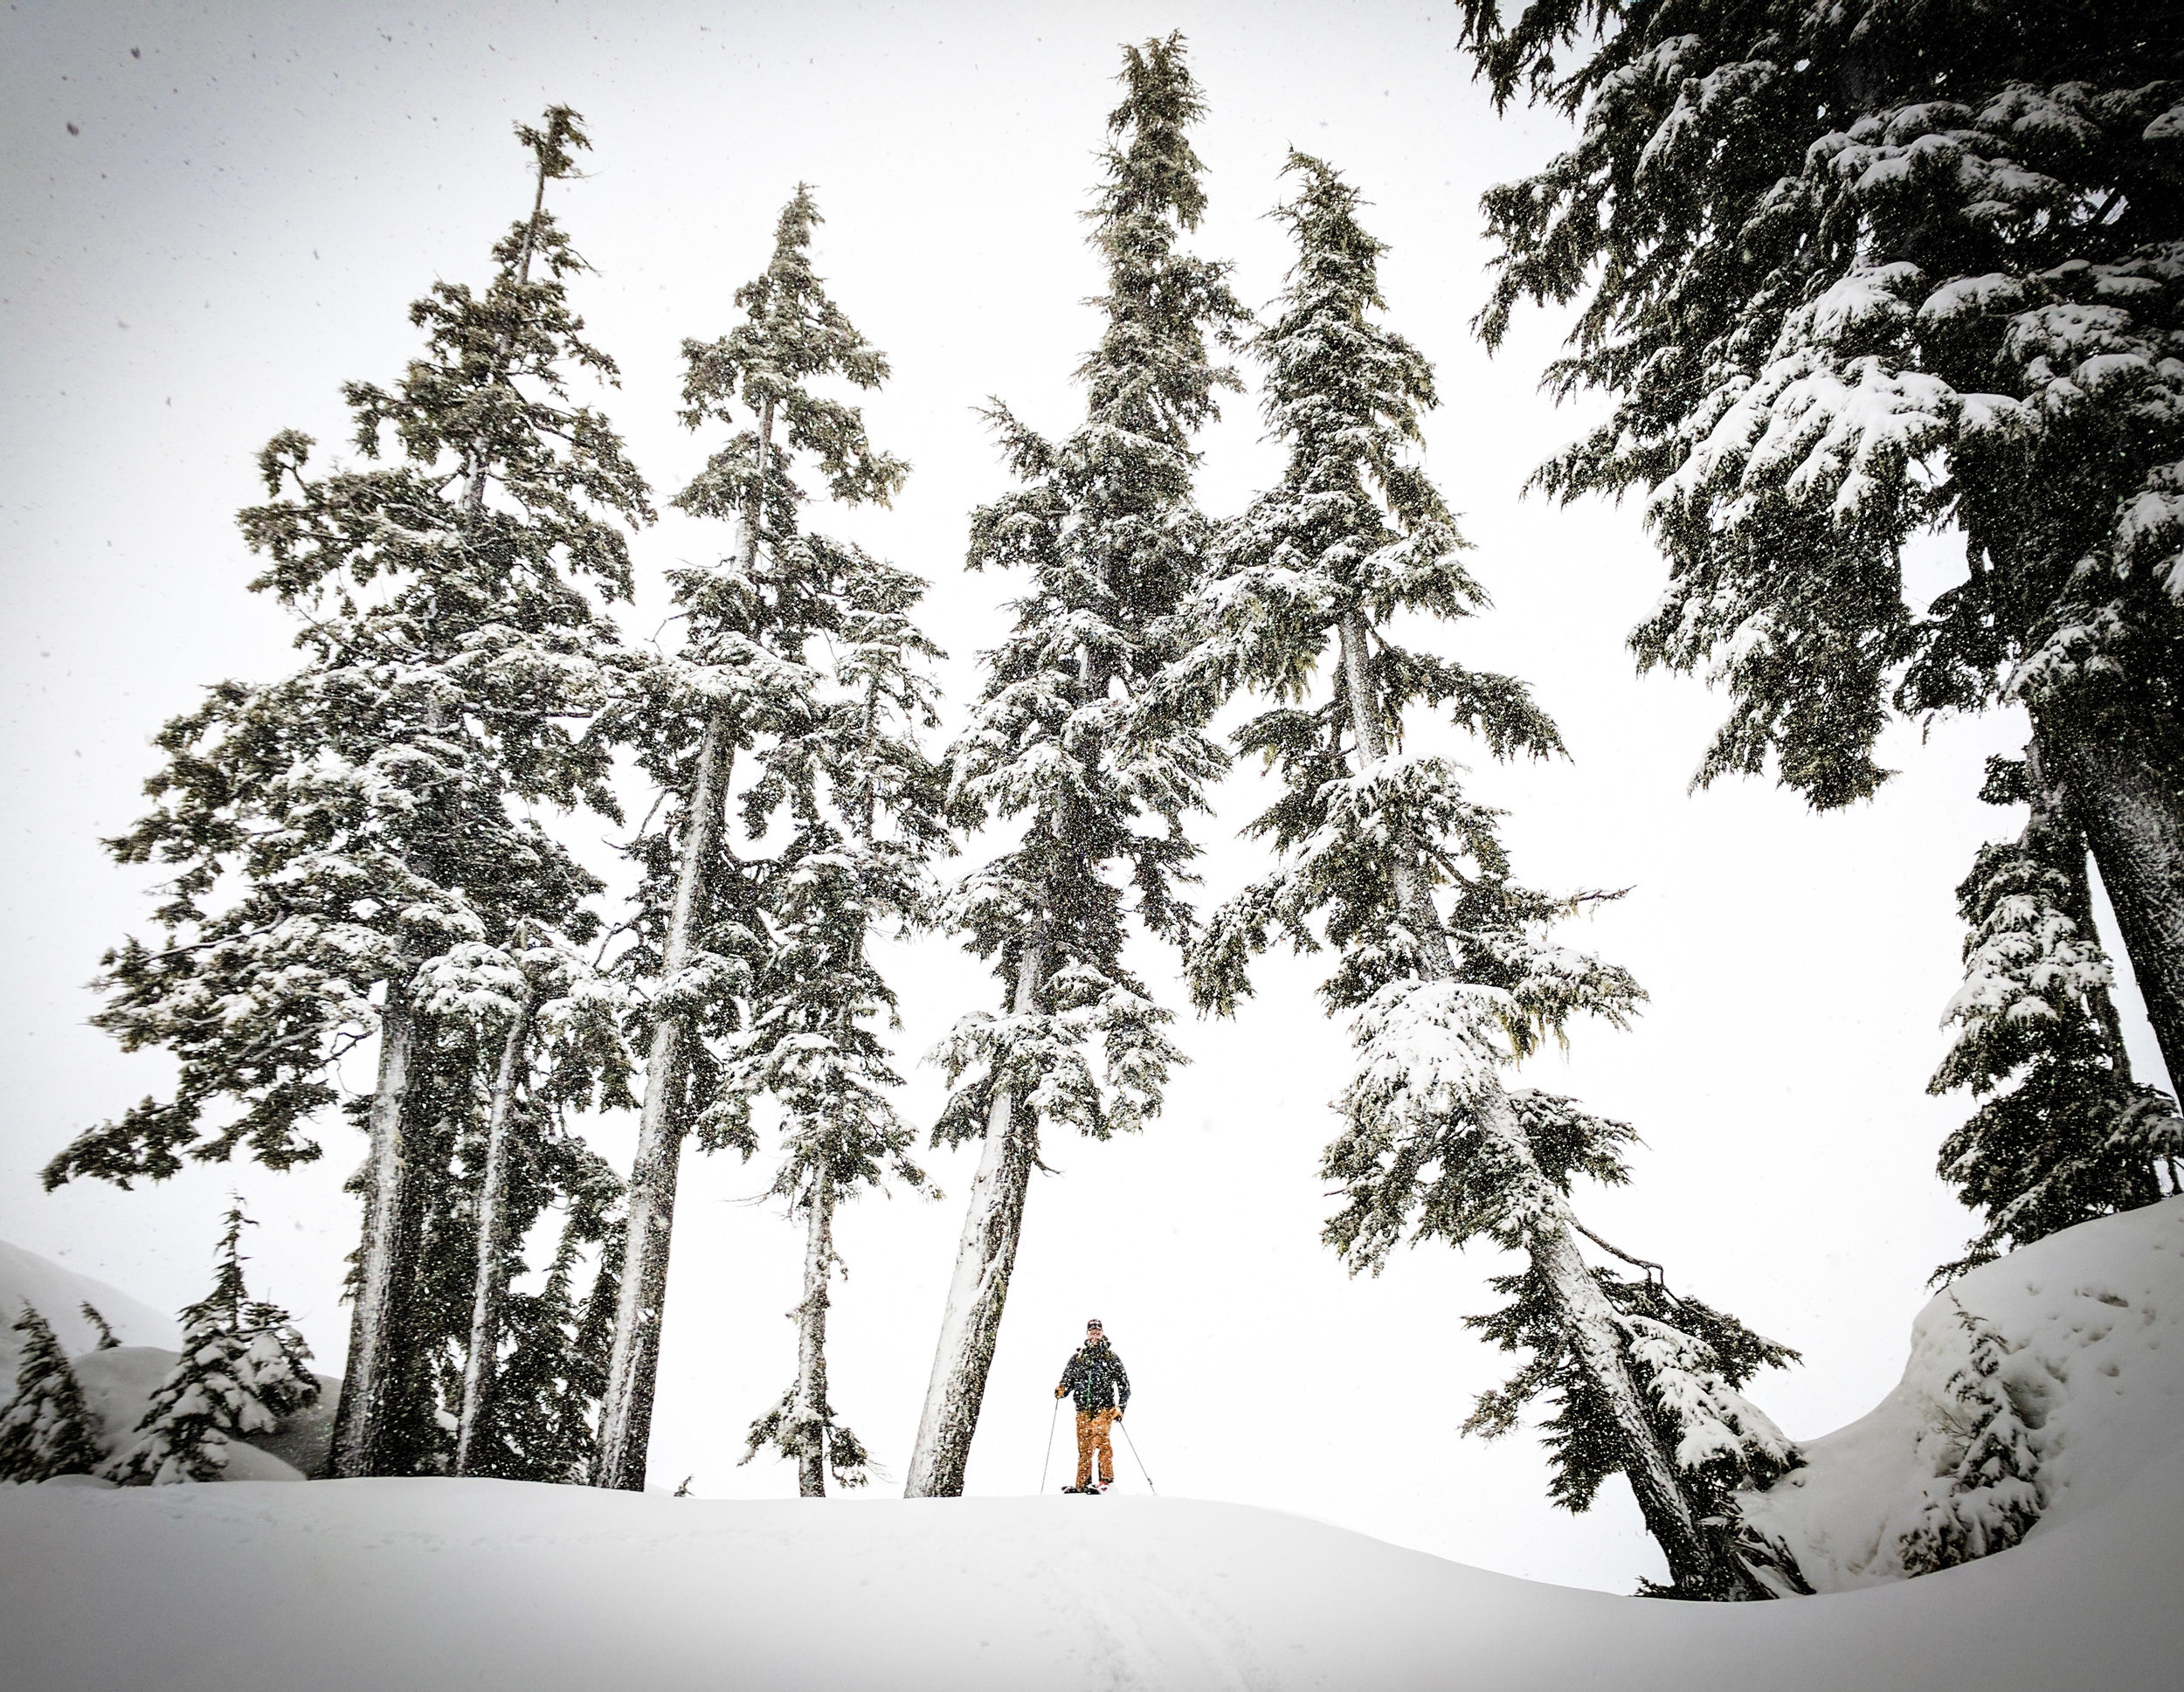
Shredding some Mt Baker Pow (pic courtesy of Zach Birmingham)
Summary
Splitboarding is a lot of fun and can be a soul enriching experience. It can be a time to share smiles with friends, make new friends and shred some pow! Nature provides us with an unlimited energy source for us to tap into. If you are like me, you already know this and embrace that. I hope the info is helpful. Drop me a line anytime to talk gear, fitness, stoke and beer. Cheers!
Hanging with Jeremey Jones during SIA 2016, living legend and a very nice guy. He gave a speech on what he does to prepare for splitboarding. We recorded the whole thing and have it up on Engearment.com
That view. Wow! (pic credit Zach Birmingham)
Sean Sewell is the Co-Pilot for engeament.com - and covers the splitboard, backcountry and fitness reviews. He is also a certified personal trainer and owner of Colorado Personal Fitness. When not testing (and breaking gear) or training clients, he can be found in the mountains with his wife and their dogs. Contact him at sean@engearment.com or to chat about gear or sean@coloradopersonalfitness.com to talk about fitness.
Splitboarding is the answer. The journey is the reward. (pic courtesy of Zach Birmingham)


